
Practical Guide to Incubating, Hatching & Raising Chicks
- GRACIE'S Farm
- Sep 29, 2025
- 7 min read
CHAPTER 1: GETTING STARTED
Disclaimer: “Some of the links in this guide are affiliate links, which means I may earn a very small commission if you choose to buy through them – at no extra cost to you. I only recommend products I trust and love.”
The Realities of Hatching Chicks
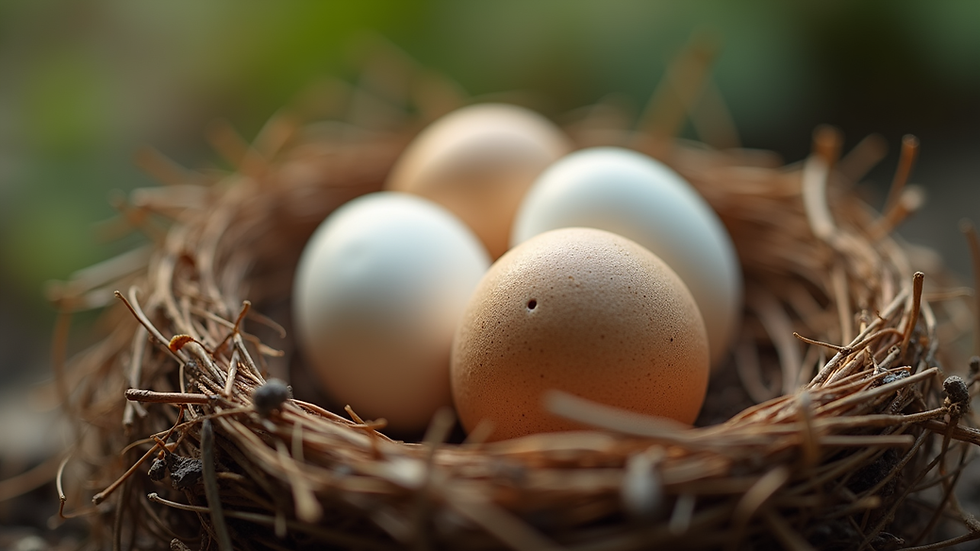
Hatching eggs isn’t just about popping eggs in an incubator and waiting for fluffy chicks to appear 21 days later. It’s a delicate balance of science, patience, and care.
Here’s what most people don’t tell you:
Not every egg will hatch – even with the best equipment.
Hatch rates vary – due to egg quality, handling, temperature fluctuations, and genetics.
You’ll experience loss – and that’s okay. It’s part of learning and improving.
You need a plan – for brooding, feeding, housing, and what you’ll do with extra cockerels.
This guide isn’t sugar-coated. It’s real talk from someone who’s hatched hundreds of chicks and has made every mistake under the sun. But it’s also full of encouragement, tools, and tried-and-tested methods that will set you up for success.
Before You Start: Ask Yourself
Do I have the space, time, and budget to raise chicks?
Am I prepared to care for them if hatch rates are low?
Do I know what I’ll do with unhatched eggs or surplus males?
If you’re ready to say yes, then let’s dive into the first step: preparing for incubation.
INTRODUCTION
Why This Book Will Help You Hatch Better
Hatching your own chicks is one of the most rewarding experiences in poultry keeping—but it’s also one of the trickiest. With so many variables to manage, from temperature swings to dud eggs, it’s no surprise that many beginners feel overwhelmed or disheartened when things don’t go to plan.
I wrote this guide to change that.
Whether you're hatching for the first time or looking to improve your current setup, this book brings together everything I’ve learned through years of trial and error on Gracie’s Farm. It’s honest, experience-based, and packed with practical advice, realistic expectations, and affiliate-linked tools I’ve personally tested and recommend.
My goal?To help you boost your hatch rate, care for chicks confidently, and avoid common (and costly) mistakes. Let's give your hatchlings the best start possible.
CHAPTER 1: GETTING STARTED
The Realities of Hatching Chicks
Hatching eggs isn’t just about popping eggs in an incubator and waiting for fluffy chicks to appear 21 days later. It’s a delicate balance of science, patience, and care.
Here’s what most people don’t tell you:
Not every egg will hatch – even with the best equipment.
Hatch rates vary – due to egg quality, handling, temperature fluctuations, and genetics.
You’ll experience loss – and that’s okay. It’s part of learning and improving.
You need a plan – for brooding, feeding, housing, and what you’ll do with extra cockerels.
This guide isn’t sugar-coated. It’s real talk from someone who’s hatched thousands of chicks and has made every mistake under the sun. But it’s also full of encouragement, tools, and tried-and-tested methods that will set you up for success.
Before You Start: Ask Yourself
Do I have the space, time, and budget to raise chicks?
Am I prepared to care for them if hatch rates are low?
Do I know what I’ll do with unhatched eggs or surplus males?
Do I have a financial plan if my chickens ever need veterinary medical care?
If you’re ready to say yes, then let’s dive into the first step: preparing for incubation.
Chapter 2: Choosing the Right Equipment
Getting your setup right from the start makes a huge difference in your hatch rate and chick health.
Choosing an Incubator
Types: Still-air vs. forced-air
Key features to look for (thermostat, humidity control, auto turners)
Suggested hobby yet well recommended incubators
Brinsea:
7 eggs fully Automatic incubator https://amzn.to/4nXdoDB
24 eggs fully Automatic: https://amzn.to/3KnBM2F
56 eggs fully Automatic incubator https://amzn.to/4nXS2Ge
Thermometers & Hygrometers
Dual sensor recommendation on top of the incubator/hatcher’s built in system I always like to leave in where I can see through the window without opening the incubator another individual temperature & humidity checker
>>> Find the one I use here: https://amzn.to/4nTEICD
Brooders & Heat Sources
Options: heat lamps, ceramic bulbs, safer options in our experience are the brooding plates solar light bulbs over night (yes chicks eat/drink most of the time and they need to), plenty of daylight or artificial warm light so they can see water-feed
>>> The brooder plate (I have 10 of these) https://amzn.to/4pLGSFZ
Feeders, Drinkers & Bedding
Safe materials, chick-safe sizes.
Bedding and chick crumb suggestions
- Allen & Page 5 kg size bag: https://amzn.to/3IGLxIz
- Heygates Country Chick Crumbs 20kg: https://amzn.to/3WcFzlW
- Bedding - 20kg Dust Extracted Lemon Fragrance Chopped Wheat Straw Bedding
The most important is that your chicks should not stay on any slippery surface from the first second they hatch, the bedding should be always dry and moist free, clean and no air drafts in their enclosure so top ventilation above their heads should be provided. Of course, natural light is desired but do not leave them where full sun can blow into their enclosure.
Chapter 2: Choosing the Right Equipment
Getting your setup right from the start makes a huge difference in your hatch rate and chick health.
1. Choosing an Incubator
A reliable incubator is your most essential investment. Choose one that suits your budget and your hatch goals.
Types of incubators:
Still-Air Incubators: Ideal for small batches. No built-in fan, so temperature can vary between top and bottom.
Forced-Air Incubators: Use a fan to circulate air for consistent temperature throughout – best for beginners.
Key features to look for:
Digital temperature display
Humidity control
Automatic egg turner
High hatch visibility
Easy cleaning
2. Thermometers & Hygrometers
Even the best incubators can drift in temp or humidity. Use a separate thermometer and hygrometer for accuracy.
Recommended Tools:
Thermometer Hygrometer https://amzn.to/4nOIMUt
3. Brooders & Heat Sources
After hatching, chicks need warmth, comfort, and safety. Your brooder setup should mimic a mother hen’s warmth.
Brooder heat options:
Brooding plate (we have 10 of these) - https://amzn.to/3Wcoetj
Infrared Heat Lamps (with safety guard) – great for larger groups or back-up:
!!!!! BIG caution where and how far you set these away from inflammable bedding / side walls of their enclosure or the chicks!!!
4. Feeders, Drinkers & Bedding
Chicks peck everything, so use purpose-made gear to keep them safe and clean.
Small gravity drinkers and feeders to avoid spills and waste
Shop feeders & drinkers:
- Great for small batch of chicks/first days https://amzn.to/3KtDdMS
- Great for bigger batch of chicks/older chicks/larger chick breeds https://amzn.to/4nOIRHL
Quality dust extracted Bedding https://amzn.to/4nJmFQ1
Starter Feed Recommendations:
Allen & Page 5 kg Chick Crumb – nutritious and non-GM, small bag, great for a healthy start and for a small batch of chicks -> https://amzn.to/484rFJZ
Allen & Page 20 kg Chick Crumb – budget-friendly and effective 20 kg bag -> https://amzn.to/4pI0IC4
Marriage's Quality Chick Crumbs 7.5kg – another good brand https://amzn.to/4gMZ9P9
Heygates Country Chick Crumbs 20kg: https://amzn.to/3WcFzlW
You need to check the ingredients always for Coccidiostat additives at the time of writing this, I have been informed of the following:
Allen & Page Baby Chick Crumb — Confirmed no coccidiostat (drug-free) per label and listings.
Heygates Country Chick Crumbs — Official sources say this version is without coccidiostat.
Marriage’s Chick Crumb — They claim with coccidiostat version is clearly marketed as containing a coccidiostat.
Tip for this chapter: Always set up your incubator and brooder 24 hours in advance to ensure stable temperature and humidity before adding eggs or chicks.
CHAPTER 3: Setting Up Your Incubator for Success
A well-prepared incubator is the cornerstone of a successful hatch. From temperature control to airflow, small tweaks can mean the difference between disappointment and fluffy chicks.
1. Choosing the Right Incubator
Not all incubators are created equal. Here are a few high-quality options for different needs:
We have given previous links and recommendations for buying your incubator
Note: Always follow manufacturer instructions and test the incubator before setting eggs.
2. Where to Place Your Incubator
Room Temperature: Keep it in a room that stays between 20°C–25°C.
Avoid Direct Sunlight or Drafts: These cause temperature fluctuations.
Stable Surface: Use a sturdy, level surface and protect from kids/pets.
3. Pre-Hatch Setup Checklist
Before you add eggs, go through this checklist:
Run the incubator empty for 24 hours
Set temperature 38 °C, humidity 55%
Ensure egg turning function is working
Clean with a disinfectant. I use Virkon S and I disinfect eggs before incubation as well, it is DEFRA approved https://amzn.to/48Fjh3J
🥚 Preparing the Solution
Dilution: Mix Virkon S at 1% solution (10 g powder per 1 litre of lukewarm water).
Temperature: Always use water slightly warmer than the egg (about 35-40 C). Using colder water can cause the egg contents to contract and pull bacteria inside.
🥚 Application
Use one of these methods:
Spray method (preferred for small flocks): Lightly spray eggs with the warm 1% Virkon S solution so the shell is just damp, not dripping.
Quick dip method (used in larger hatcheries): Submerge eggs for no more than 5 minutes, then remove and allow them to air dry in plastic trays or on a clean dry towel – this is my preferred method.
🥚 Handling & Safety
Handle eggs gently to avoid rubbing off the natural bloom.
Let the eggs air dry completely before putting them in the incubator.
Disinfect eggs especially if they are coming from another or different farms.
✅ Key tip: Virkon S is strong and effective, but overuse or prolonged contact can lower hatch rates. A quick spray or dip with the correct dilution is all that’s needed.
4. Calibrating Your Thermometer & Hygrometer
Many built-in sensors can be off. Always:
Use a separate digital thermometer and hygrometer for verification.
Place the sensors at egg height, not on the floor or lid.
5. Egg Turning: Manual vs. Automatic
Manual turning: 2 times a day, always an odd number (prevents eggs resting too long on one side).
Automatic turning: Ideal for convenience; reduces contamination risk.
6. Troubleshooting Common Setup Issues
Issue: | Likely Cause | Solution |
-Temp keeps dropping | > Drafty room or faulty heater | = Move incubator or check heating element |
- Humidity too low | > Water trough empty, air too dry | = Add warm water, use wet sponge |
- Uneven temps | > Overloaded incubator or bad airflow | = Use fewer eggs, rotate position |
Recommended Supplies:
Digital Thermo-Hygrometer – For accurate readings https://amzn.to/48H1PMf
Incubator Cleaner – Non-toxic and effective, like Virkon S https://amzn.to/4gHRMZe
TO BE CONTINUED.......
! Copyright Notice:
All content, text, and images are the property of Gracie’s Farm.
Unauthorized use, reproduction, or distribution of this material in any form is strictly prohibited without prior written permission.
© Gracie’s Farm – All Rights Reserved.


Comments